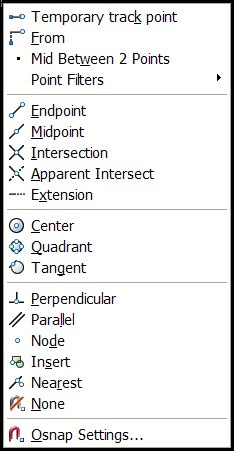
AutoCAD 2006 has a few little enhancements that may help the icon challenged among us. Like remembering which icon does what.
They have added the icons for OSNAPs to the Shift+Right Click function.
Hold down the Shift Key and Right Click and you will see the icons next to the options.

Fairly common requirements… But if you are on an older machine… Time to Upgrade
Intel® Pentium® III or later, with 800 MHz or faster processor, or compatible
Microsoft® Windows® XP SP1 or SP2 (Professional, Home Edition, or Tablet PC Edition), or Windows® 2000 Professional SP4
512 MB RAM
500 MB free disk space for installation
1024×768 VGA with true color
Microsoft® Internet Explorer 6.0 SP1
CD-ROM drive
Mouse, trackball, or compatible pointing device
Test your AutoCAD Knowledge..
What release is this screen shot of the interface?
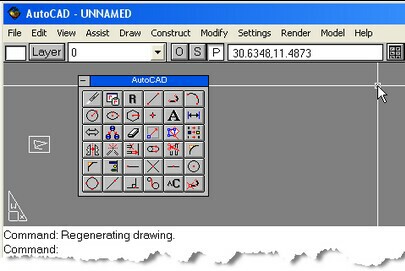
Don’t peek… (R12)
Here is a preview of what the box might look like when it starts shipping.
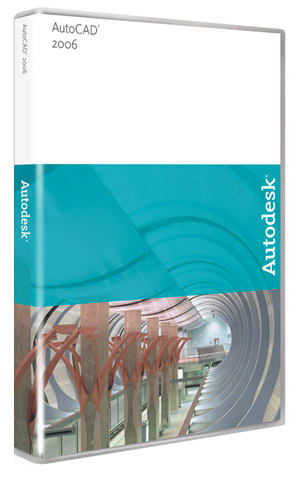
Little things like this always catch my eye. I understand that it is what is inside the box that counts, but let’s not forget that a nice looking box is worth something. :>)
The new Drawing Recovery Manager enables you to retrieve backup files (BAK) or even your automatically saved versions of your DWG files without having to manually search through folders and rename file extensions.
This has been one of the toughest things I have had to show people in previous versions. Finding the AutoSaved files from prior releases was not easy for users especially with Multiple Document Interface turned on.
A survey conducted by temporary staffing company Accountemps now gives visibility to the most annoying jargon smattered about offices throughout corporate America. According to the 150 senior executives polled…
15 MOST ANNOYING CLICHES
As identified by the Accountemps survey
1. At the end of the day
2. Solution
3. Thinking outside the box
4. Synergy
5. Paradigm
6. Metrics
7. Take it offline
8. Redeployed people
9. Core Competency
10. Win-win
11. Value-added
12. Get on the same page
13. Customer-centric
14. Generation X
15. Alignment
What might we find if we polled 150 CAD Managers?
As identified by CADDMANAGER.com thinking
1. Latest and Greatest
2. Latest Release
3. CAD Guru
4. Migration
5. Pain Point
6. At this point in time
7. ???
Let me know what terms annoy you…
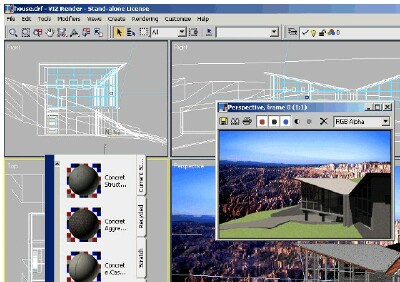
Some of you may be missing out on some very good tutorial material provided by Autodesk because it did not install with your product. When ADT 2005 was installed on my machine I did not get the VIZ tutorials. So when I clicked on the tutorial section of the Help, I got no response. Some one else did the install for me, so I do not know if they selected everything to be installed. I usually install everything I can get from the CD from the get go.
I discovered that I needed to install the Tutorials from the original install CD. This may be the case for you also. Here is how I did it…
1. Exit all open AutoCAD based programs
2. Insert the original ADT Installation CD in your computer
3. At the main menu, select Install
4. At the Install Menu – select install (step 2) – the system will prepare to install
5. At the setup screen – select Add or Remove Features
6. Select Next
7. Open the Program Files area by clicking on the Plus sign
8. Drop down to Tutorials and click on the Plus sign
9. Click on the disk icon next to VIZ Render Tutorial
10. Select “Will be installed on Local Hard Drive”
11. Click Next at the bottom of the dialog
12. Click Next until the process is completed. It should prompt you for the 3rd CD.
Simple enough – but a needed step to get all the tools provided. Give it a try and take a look at the stuff provided. It just might help.
And by default – you should install everything from the CD the first time.
I attended the South Coast Revit User Group meeting held at WATG in Newport beach last week. It was a gathering of about 27 people. They focused on setting up project templates and what should be included. Robert Carpenter presented some real world examples from projects he had completed with ONYX Architects in Pasadena.

Steve Stafford filled in the gaps with a complete list of items in the form of a check list to be reviewed for setting up your project templates. A wonderful tool for making sure that you have thought things thru completely.

The evening finished up with a lively discussion of Wish List items.
I was able to give an overview of what AUGI is doing and how much success has been seen in the Revit Community on AUGI. Many thanks to Steve and Jim Balding for their efforts.
It was a rainy Southern California evening (we have seen a great deal of rain lately, and mud slides, and flooding, and houses falling down the slopes they are built on) but well worth the effort to make the meeting.
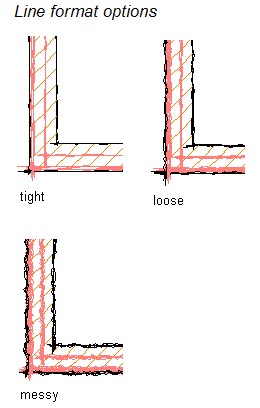
Have you noticed that some software packages add “analog” looking styles to output. You can “Squiggle” your CAD files. You can smudge your Photoshop stuff. All in an effort to make things appear to be hand drawn. Well “bust my buttons”, as the Wizard of OZ would say…
I think that we may have lost something in the headlong dive into digital.
Autodesk Architectural Desktop has a Napkin Sketch feature that lets you create a block that reproduces your linework as if it were hand sketched. Try it out under the Document Pulldown menu of ADT 2005.
I added an analog clock to my blog. I could have used a digital format, but I chose Analog. Sometimes Analog looks better.
