Generating PDF files to share information with others is a great way to get them design data without sending your CAD files.
Here is the process that is included with AutoCAD 2010.
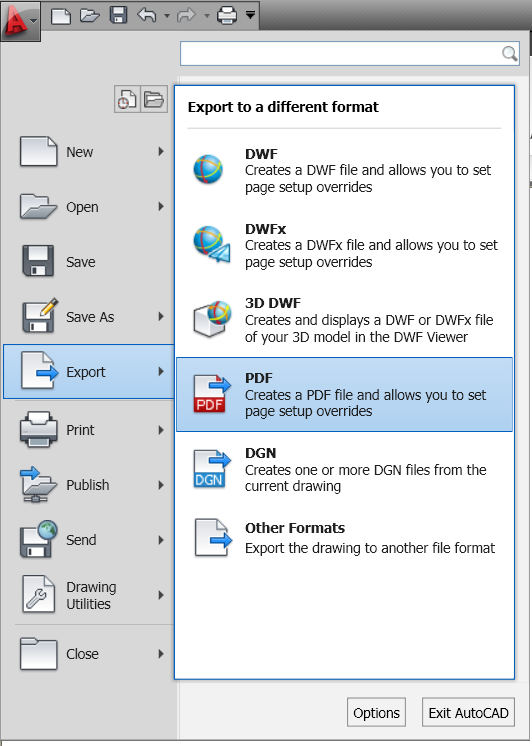
1. Select Export to PDF under the Big Red “A”
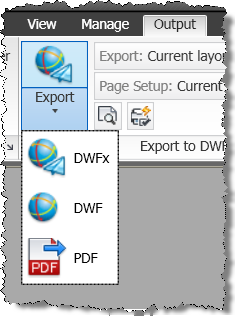
or you can select it fro the Output Tab onthe ribbon
2.A dialog box opens and you can hit Save or select Options button
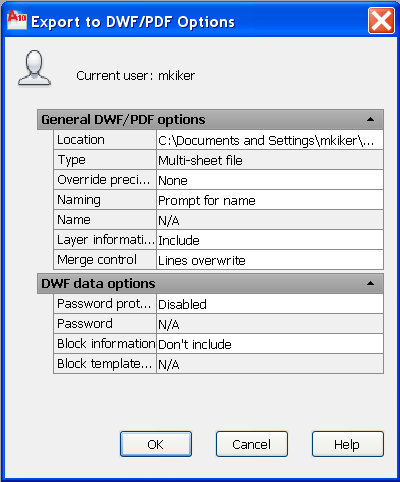
3. Several Options are presented. First by showing you the standards. You can add a password, overwrite precision,etc.
4. If you want to change an Option, just click on the option and a drop down will appear. No dropdown? then it cannot be changed.
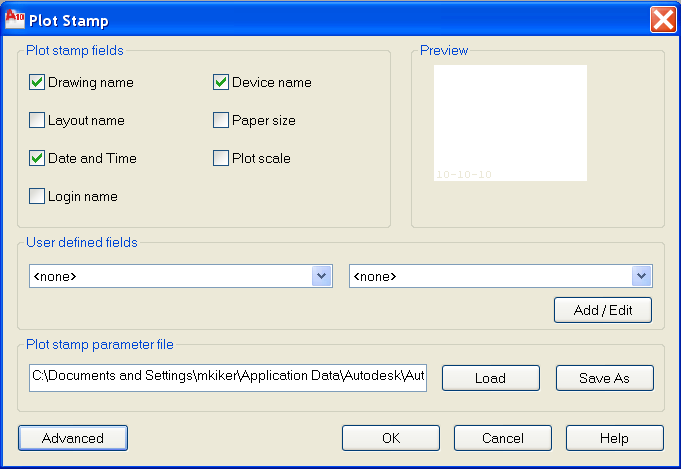
5. You can add a plot stamp if you like also. Some of the presets available are shown below. Check the ones you want to add. This is the exact same dialog box as plot stamping in the Plot command.
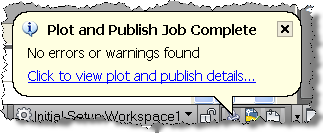
6. When you are happy that the PDF is all set to go – hit the Save button. When the file is created you will get a notification balloon in the lower right corner.
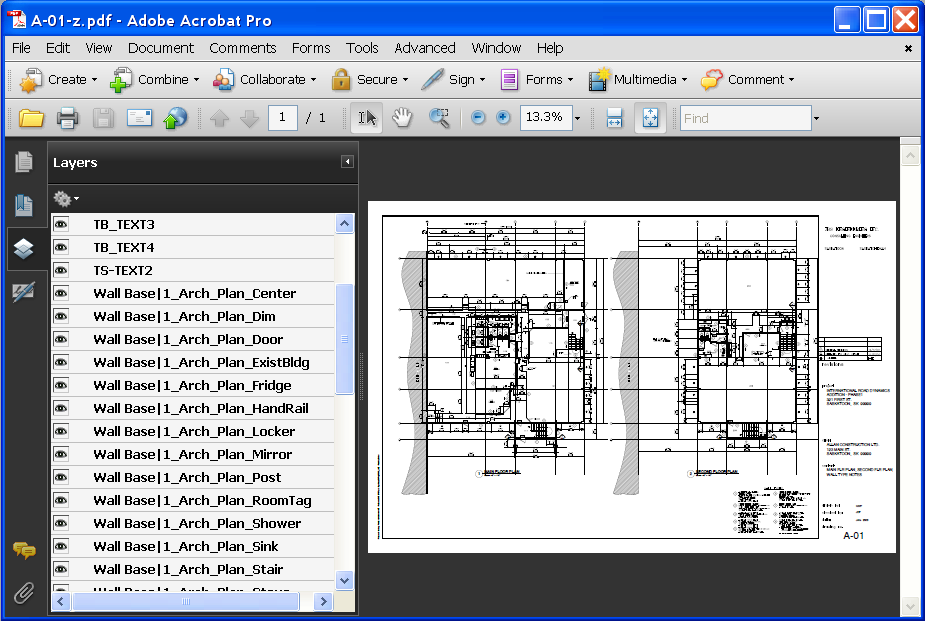
7. When you are done and you open the PDF you should see your completed PDF file with any data that you included.
Notes fromthe Help file:
Although transparent objects and wipeouts are displayed correctly in the PDF viewer, they may not print with the same visual fidelity when default print settings are used. If your drawing contains transparent objects, you may need to adjust some settings in Adobe Acrobat. Set Transparency Flattening to “Print as Image” or reduce the Raster/Vector Balance in Adobe Acrobat.
I have seen this happen – so be aware…




November 17th, 2012 at 10:42 AM
thanks for this good duty
February 20th, 2013 at 5:20 AM
Can u semd me important notes of autocad using
May 24th, 2022 at 4:43 AM
Thanks a lot for sharing this, really helps!